In this part I will briefly tell you how to make a case. Unfortunately, only happy owners of 3D printers will be able to use this opportunity, but others will probably be able to ask their friends to print them parts for assembling the case, or make the case from another material, for example, wood. So, we will print from ABS or PLA plastic, I prefer ABS and all examples below will be shown from this material. For printing, it is best to use a fill factor of 100%, since at a lower value, the details are fragile (subjective). The parts can be processed after printing, I glued the cracks and painted black after putty. If the print quality is high, then you do not need to paint. The assembly assumes the presence of assembled printed circuit boards and the presence of a flash card with a player.
The body consists of:
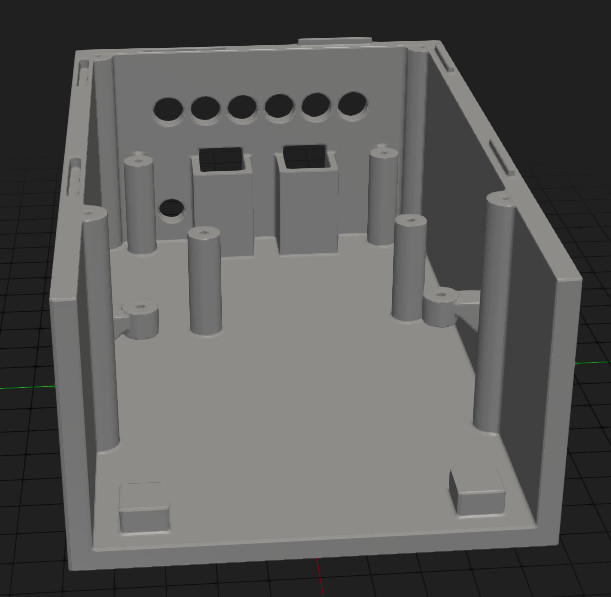
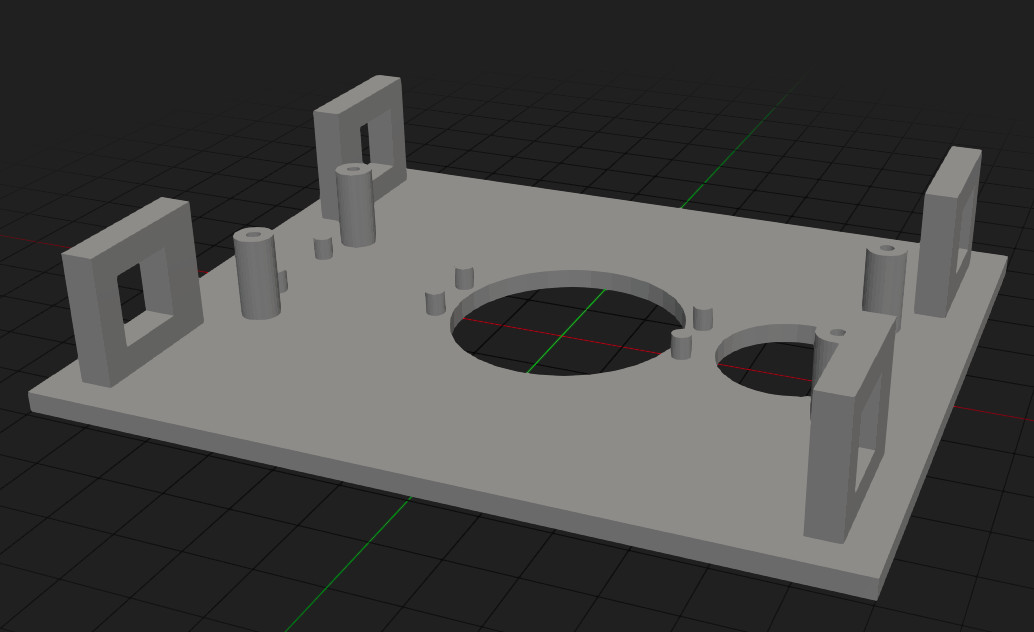
base
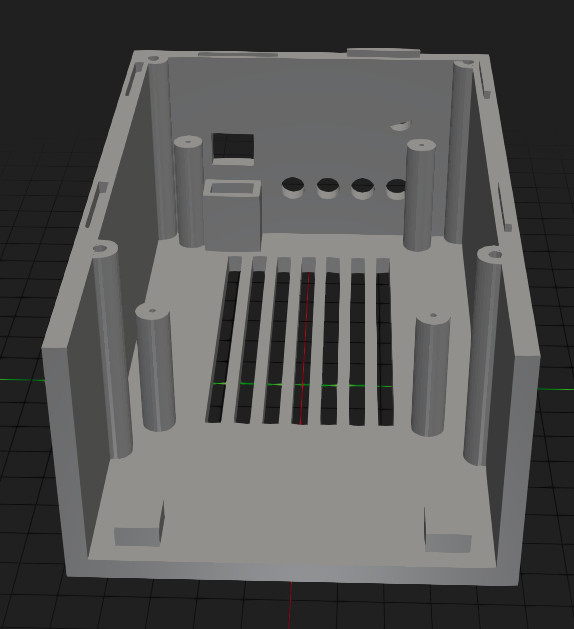 cover
cover
 front panel
 transparent false panel
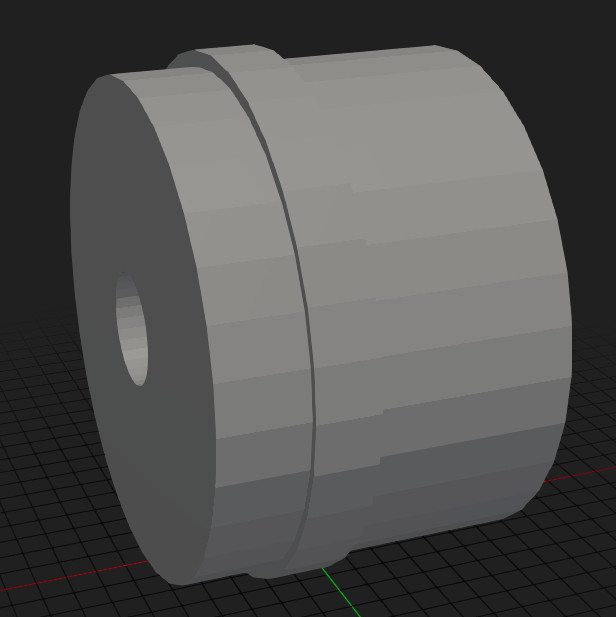
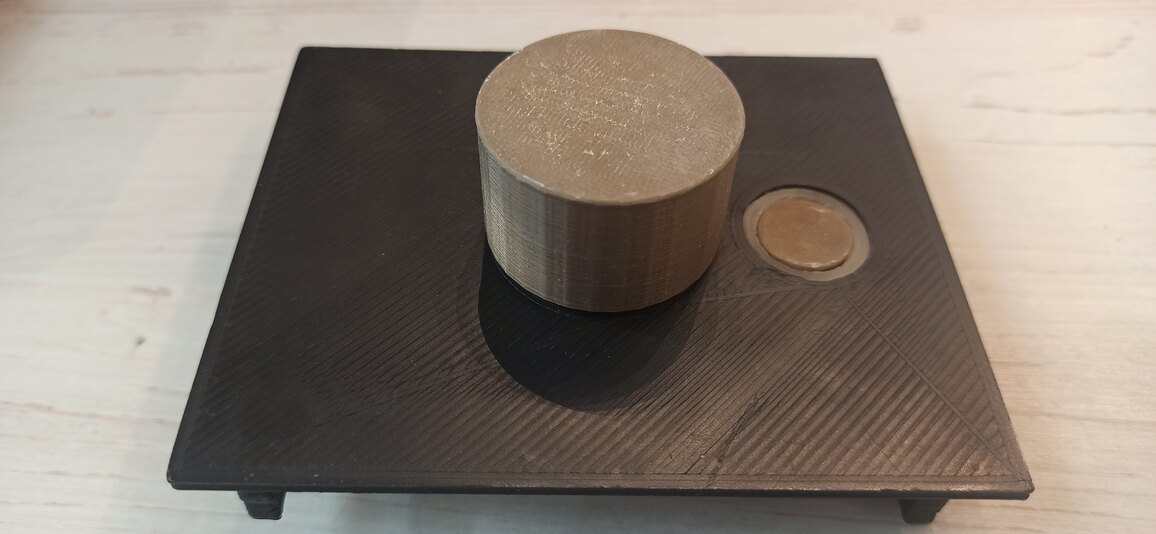
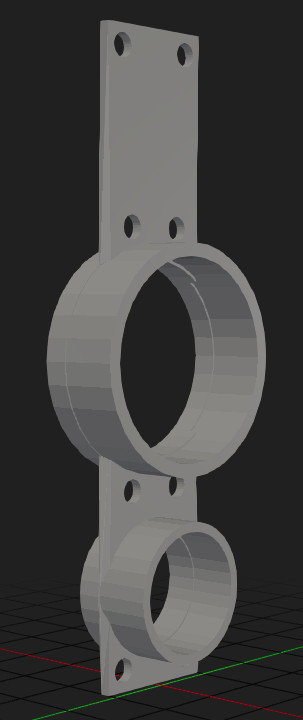 volume knobs
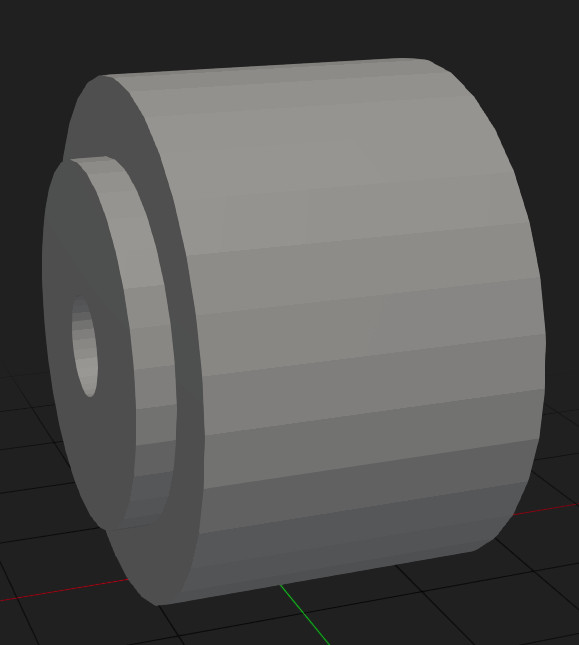 power buttons
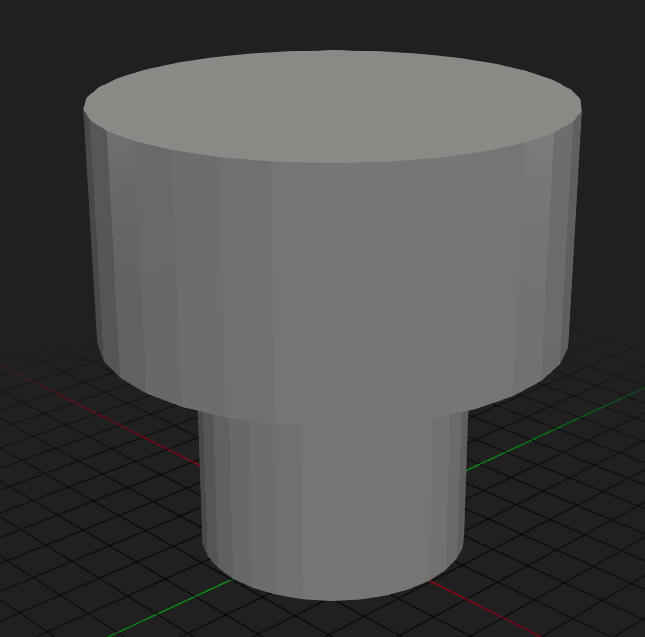
 and support legs
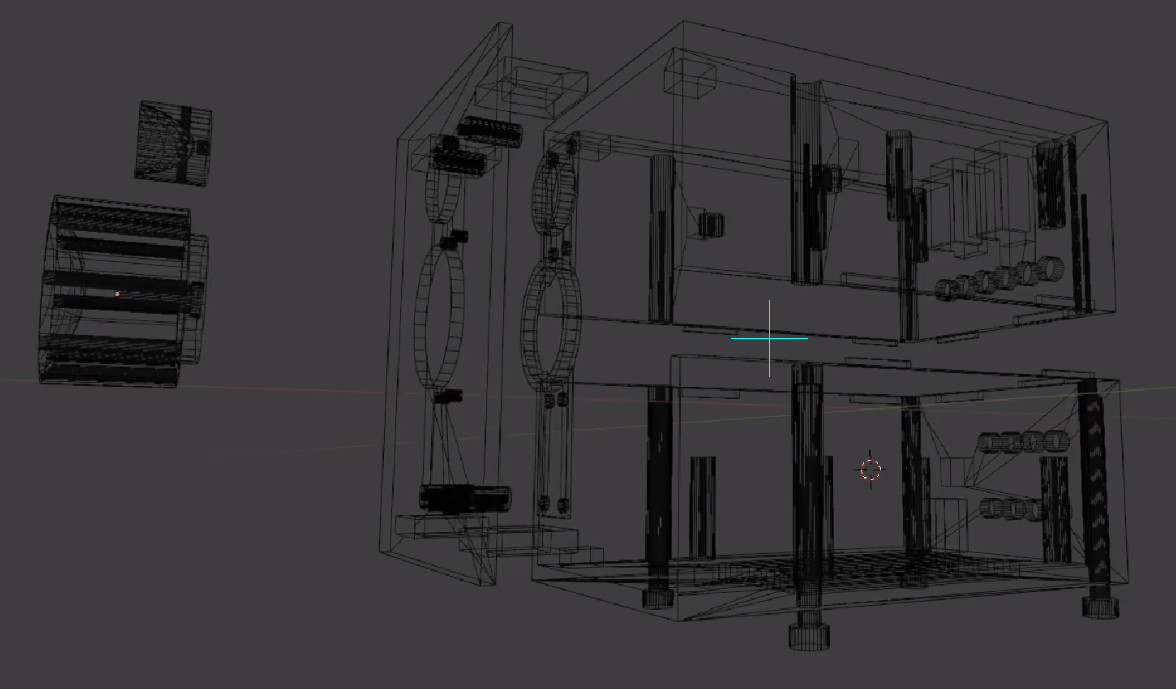
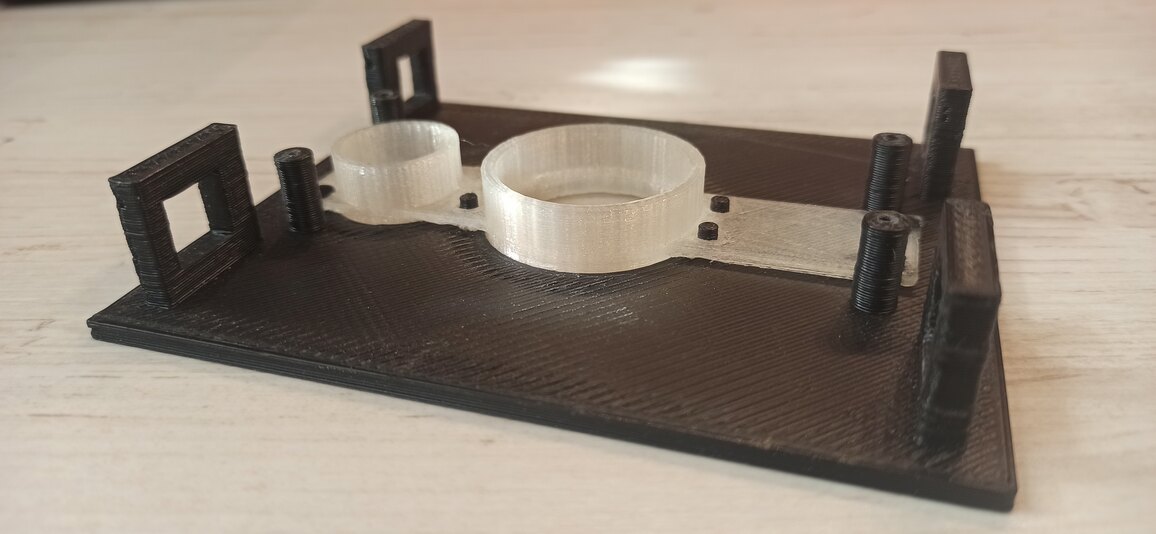
The assembly sketch clearly shows how the individual parts are connected to each other
First you need to insert the transparent bezel into the front panel,
 It is convenient to melt the protruding legs through the blade with a soldering iron, thereby the false panel is firmly fixed in place.
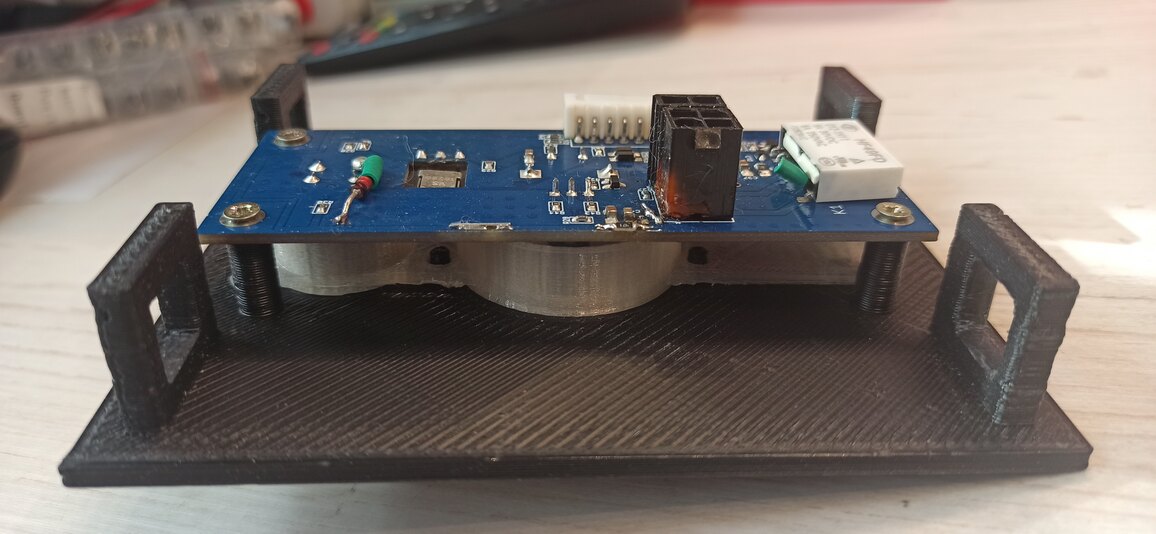
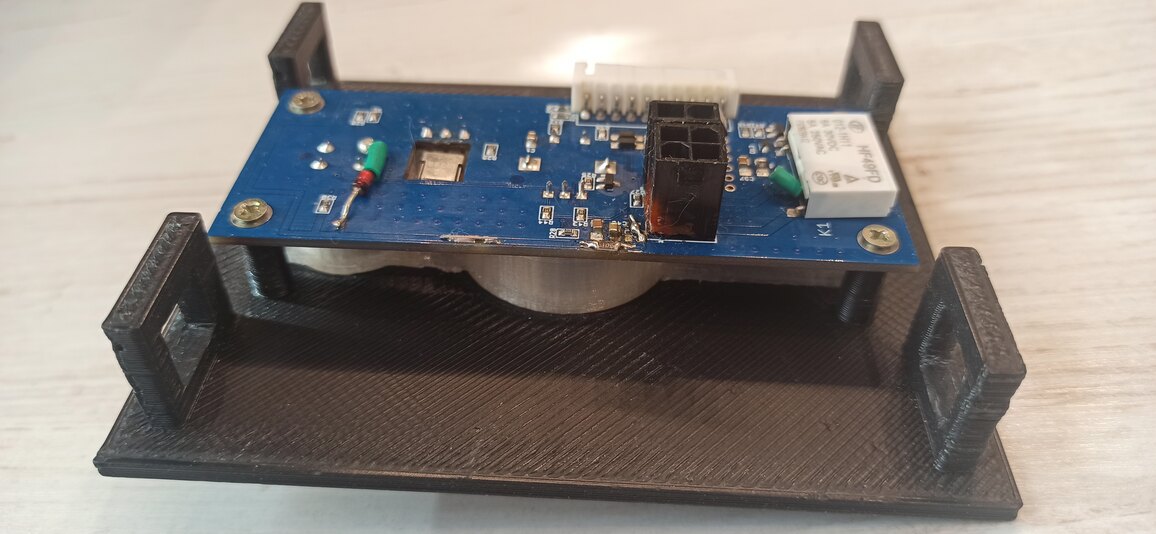
 Let's screw the printed circuit board.
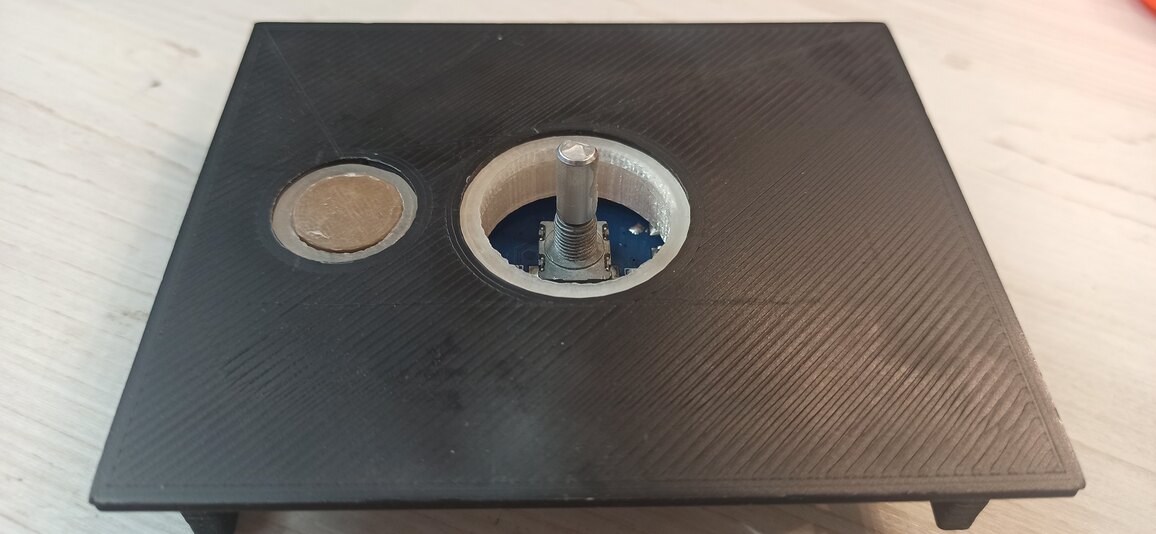
 Install the power button and volume knob,
 you can use hot melt glue.
Next, we will install the printed circuit boards in the base and cover.
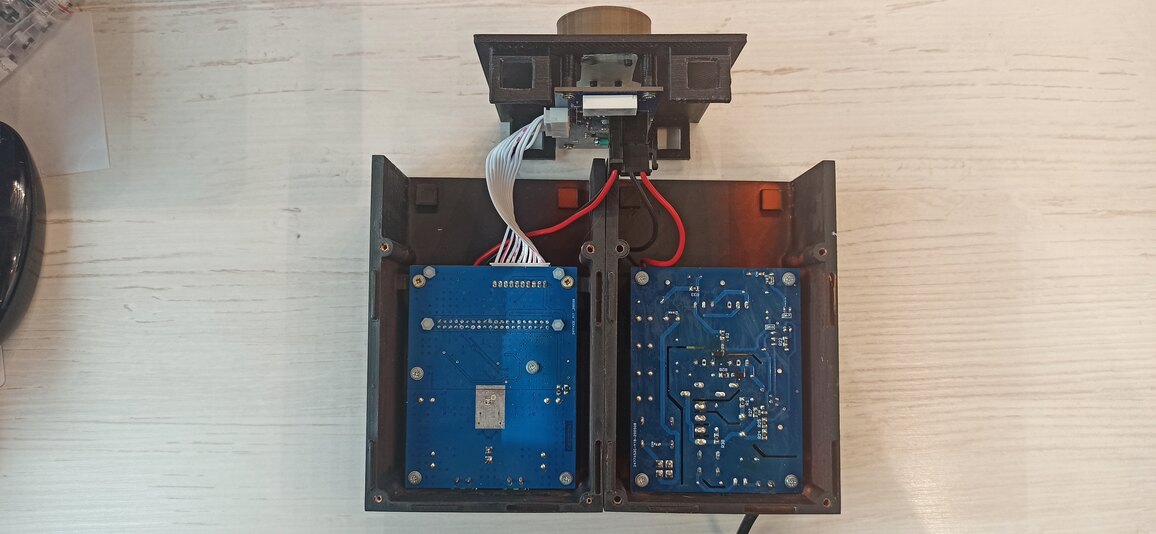 The installation process is clearly visible here. Then we connect the printed circuit boards with the power and signal bus, carefully insert the assembled front panel into the base and then install the cover. The cover is pulled to the base with 4 screws from the base side, for this you need to use a long, thin screwdriver. We complete the entire assembly process by installing the legs into the holes in the base. They are inserted with little effort.
It remains only to connect the power cable, speaker wires and ...
enjoy the excellent quality of the music played :)
Here is the archive with stl files
That's all for now, follow my publications on rmicro.ru and on Youtube.
Assembly part 1 Assembly part 2 Assembly part 3 Assembly part 4 Assembly part 5 Assembly part 6