So we got to the front panel. As I said earlier, you can do without it if, for example, you are going to use this system as wireless speakers in a multi-room system. But for those who love classic design, it would be nice to put together something like this. So, the main functions of this panel are to control the switching on and off of the controller (raspberry) and the amplifier (tas5713). Well, the auxiliary ones are volume control with the function of an additional button, a backlight and an infrared receiver from the remote control. All this is controlled by the small pic10f202 microcontroller. To work, it needs to have signals from Rpi Zero - PWR_U/D and it will send the SHTDWN_RPI signal. To do this, you need to write the following in the Rpi Zero /boot/config.txt configuration file:
dtoverlay = gpio-poweroff, active_low, gpiopin = 22
dtoverlay = gpio-shutdown, gpio_pin = 27, active_low = 1, gpio_pull = up
The first line is the Rpi Zero instruction to load the power control module, when the device turns off, the "gpio-poweroff" overlay module sets the 22 pins low, which forces the pic10f202 program to de-energize the power relay and thus turn off the device. The second is to load the shutdown control module, when you press the power control button, while the device is running, pic10f202 will send the SHTDWN_RPI signal, which will process the "gpio-shutdown" module and start the device shutdown process. Firmware file needs to be loaded into the microcontroller using the programmer, I used PICKIT-3.
Schematic diagram is very simple 
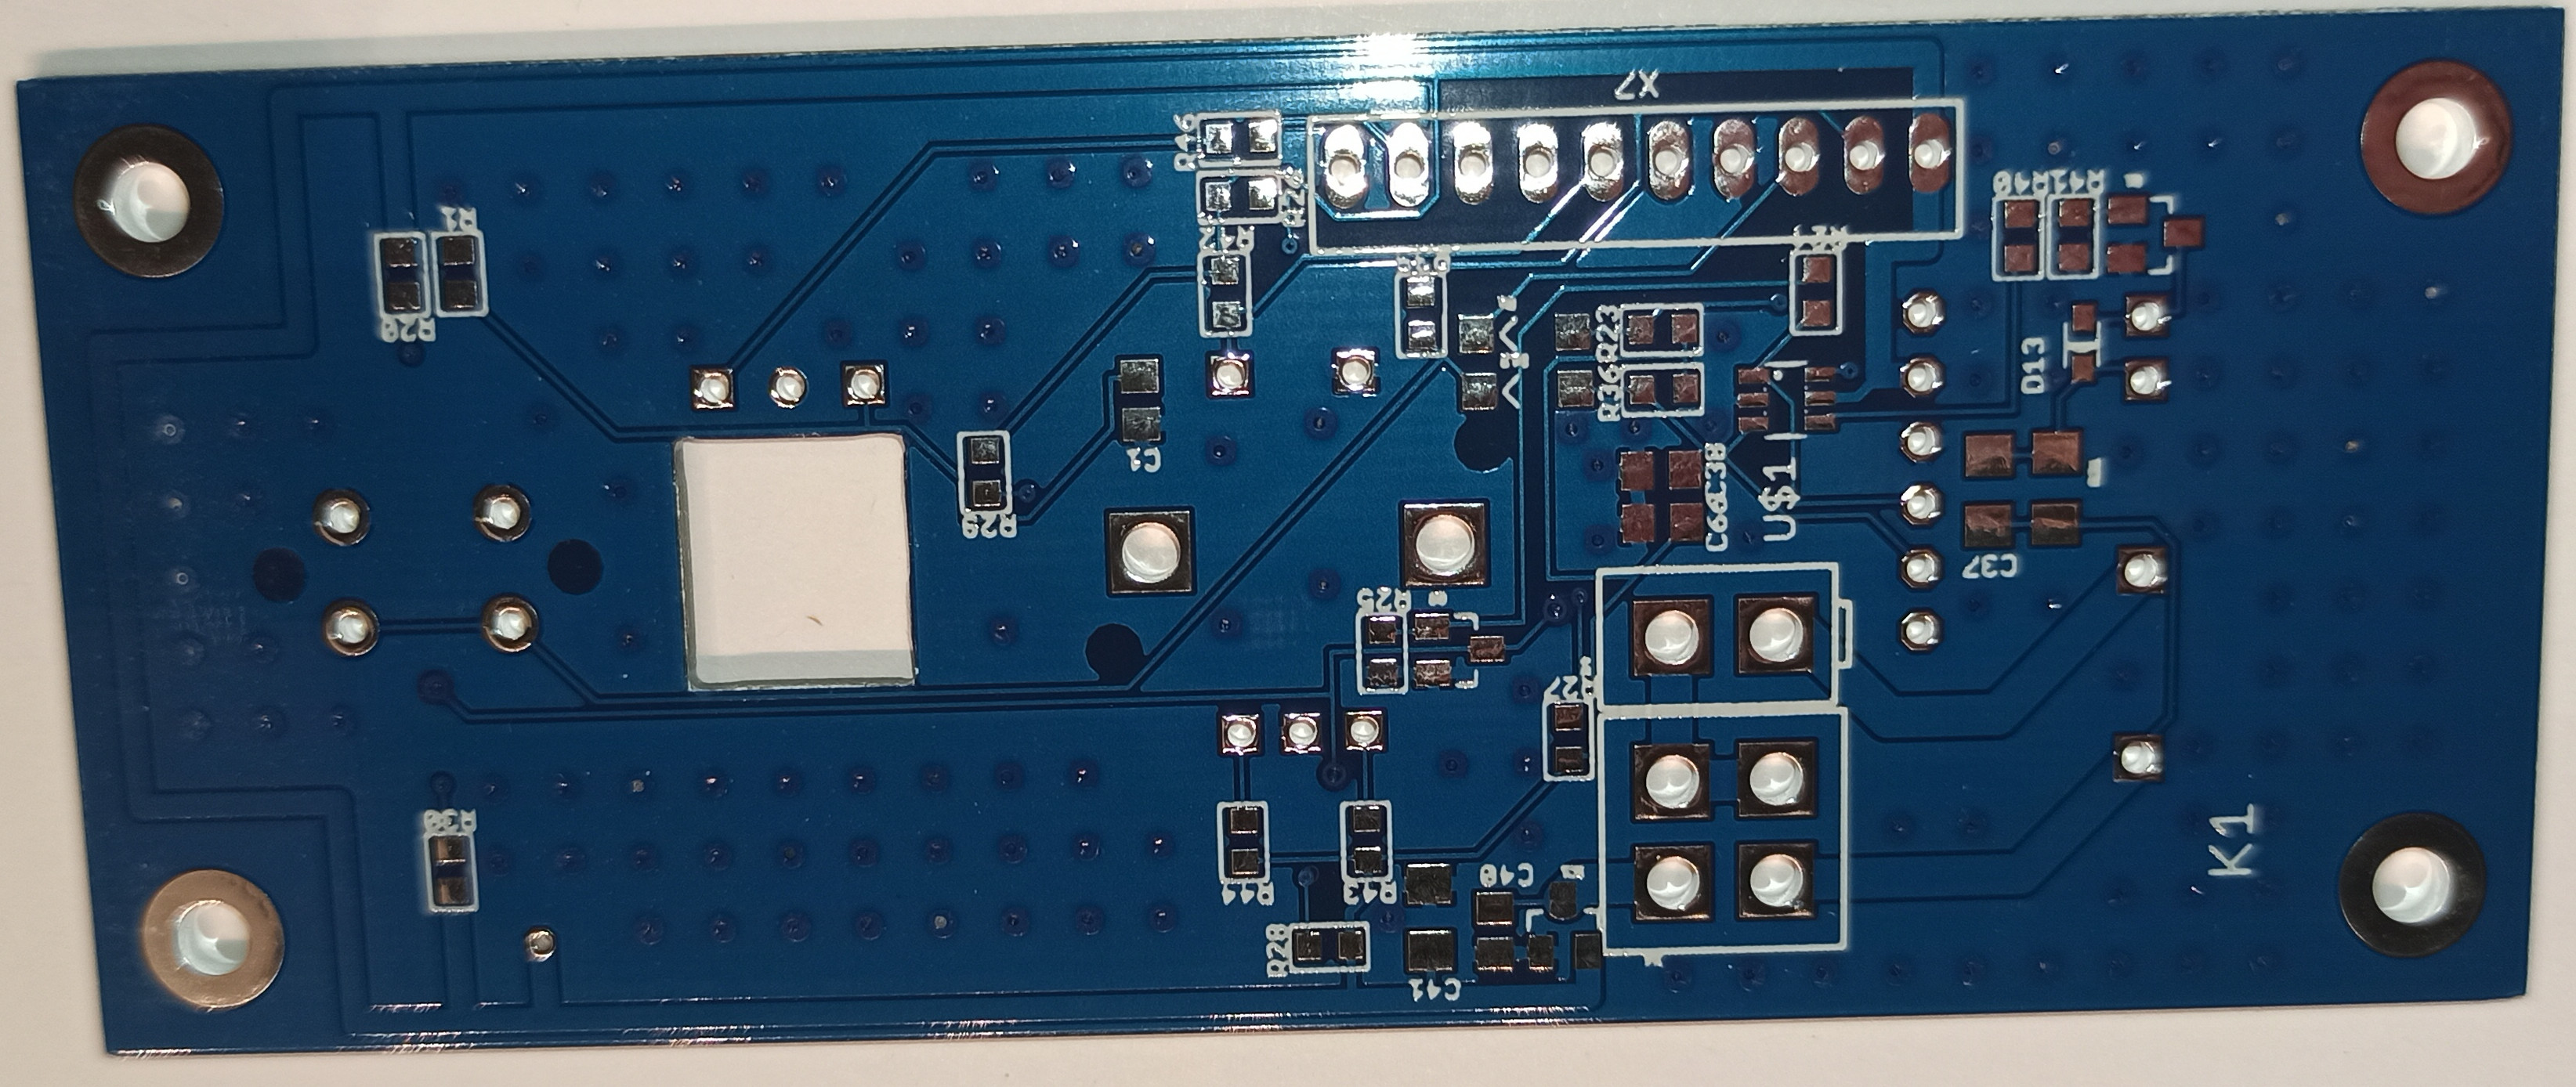
Everything is assembled on 40x100 mm PCB 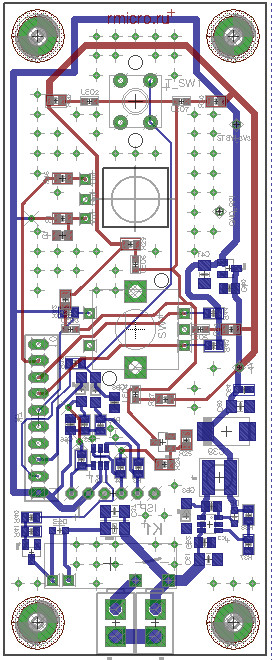 For those who want to repeat, I post gerber files
and BOM
For those who want to repeat, I post gerber files
and BOM
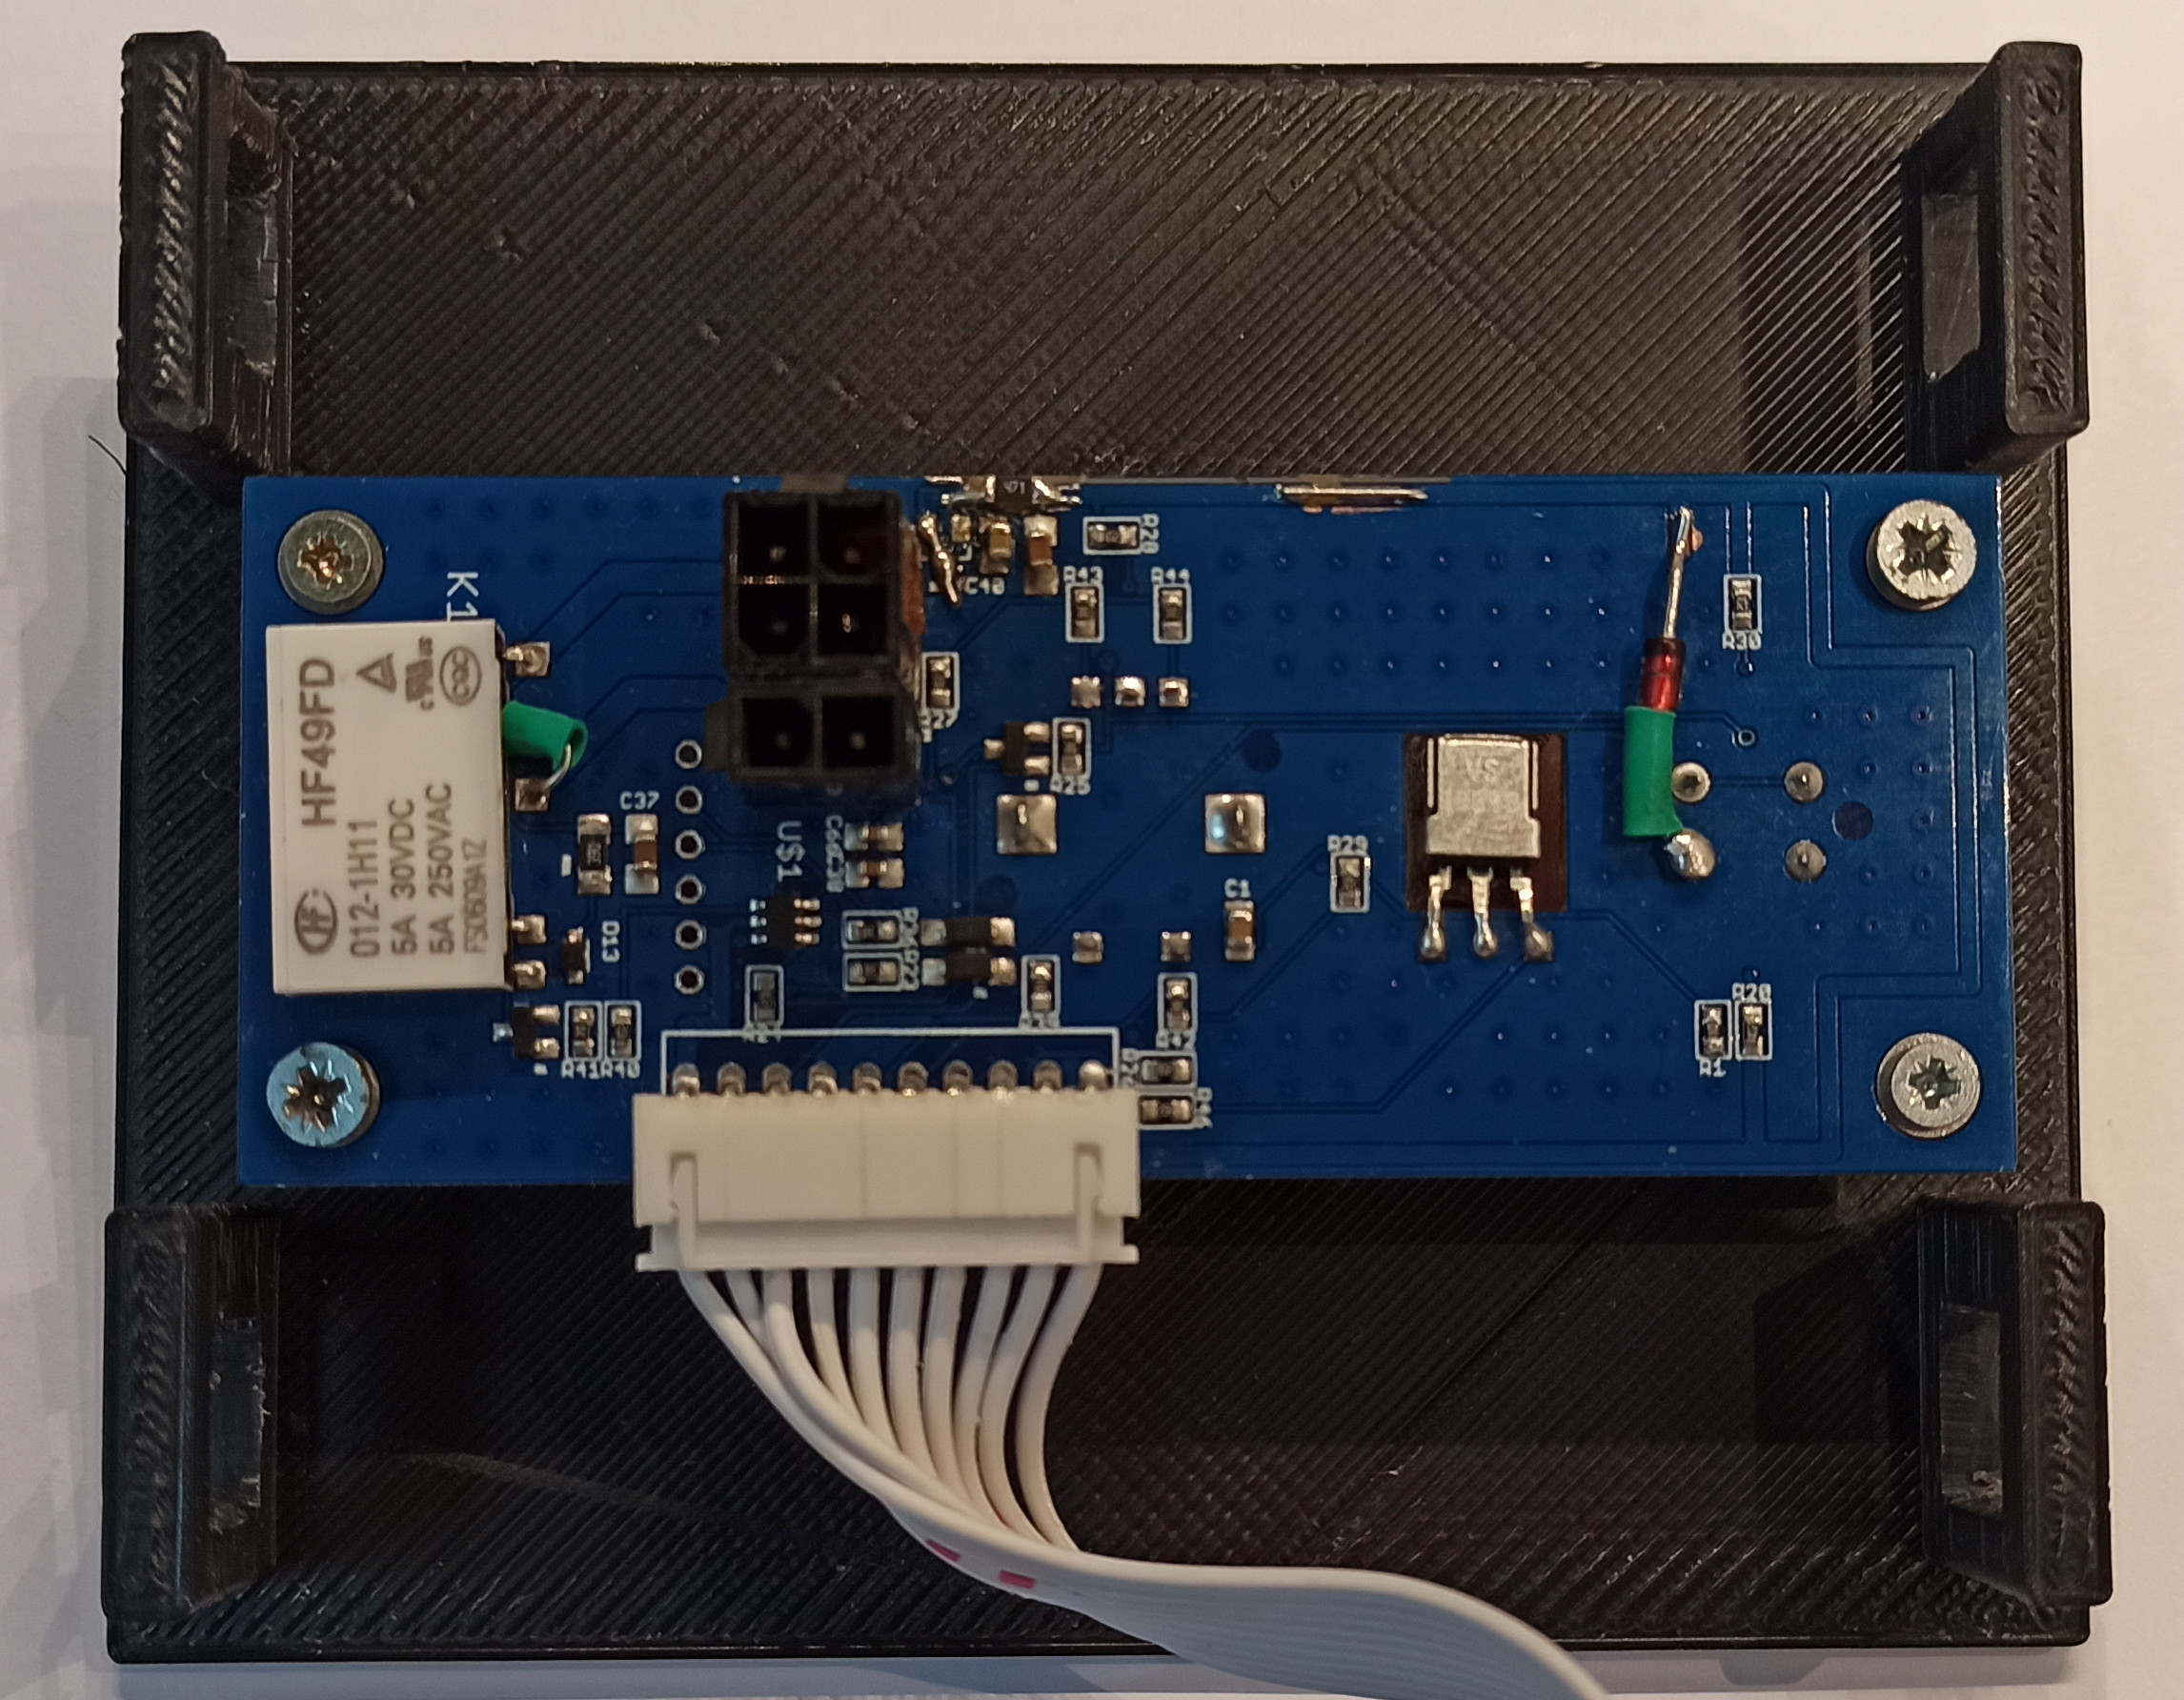
I will give a photo of the previous version, since an updated version has not yet been compiled.
That's all for now, follow my publications on rmicro.ru and on Youtube.
Assembly part 1 Assembly part 2 Assembly part 3 Assembly part 4 Assembly part 5 Assembly part 6